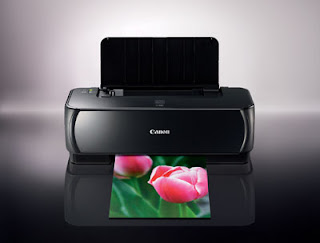
I just opened the Canon PIXMA iP1880 bought it about 2 months ago. I never use it as laser jet printer is always ready in the office :-)
This morning my wife ask me to print my kid's photo, that is the reason I open it.
I've tried googling to find if somebody have installed it in Ubuntu Feisty, but no luck. The current driver provided by Canon are only for OpenSuse and Fedora, but it's good at least they made the linux driver.
First step installation, download the files from canon server :
Go to http://www.canon-asia.com/index.jsp?fuseaction=support&prod_type=bj&country=SG
select the Model PIXMA iP1880 and Menu Drivers & Softwares
Choose the version 2.7.0 for Linux
Download only the two files which are "Common package" and "Package for the iP1800series"
The files are in RPM. So we need to convert it to Ubuntu packaging format.
Second step :
Install the alien package by command
sudo apt-get install alien
Convert it to .deb
sudo alien -k cnijfilter-common-2.70-1.i386.rpm
sudo alien -k cnijfilter-ip1800series-2.70-1.i386.rpm
Install it
sudo dpkg -i cnijfilter-common_2.70-1_i386.deb
sudo dpkg -i cnijfilter-ip1800series_2.70-1_i386.deb
Other than those files, you need some old library to support it like libtiff3 and libpng3. I can't find the libtiff3 on the repository so I make softlink to point libtiff3 to libtiff4. Without this installation, you won't be able to print anything.
cd /usr/lib/
sudo ln -s ./libtiff.so.4.2.1 ./libtiff.so.3
for libpng3, install from repository
sudo apt-get install libpng3
After you install above command successfuly, we go to Step 3
Turn on the printer and connect the USB to the printer.
Open the printing from System->Administration->Printing
Double click the new printer
Select Printer Type " Local or Detected Printer"
Select a Detected Printer : Canon iP1800 series ......
Then go to the next page
I can't find the iP1800 on the list, so I select the "Install Driver" button and point to
/usr/share/cups/model
and select canonip1800.ppd
Go to the next page and press the apply button.
You will see on the Printers window, there will be iP1800 icon on it. You can make it default printer by right click and select "Make Default"
This part, voila, you are ready to print!
For the Hardy users, you should install libgtk1.2 and libxml1 and no need to go to step 3.
sudo apt-get install libgtk1.2
sudo apt-get install libxml1
After turn on the printer, there will be popup to install the printer.
